Navigation

Quicklinks


Flying Foxes

Flying Fox paper airplane

Presented by: Mike Lipkin
Special Guest: Marshall Lipkin

Materials

  • Flying Fox paper

Download a printable flying fox

Download the presentation


Note: This presentation requires the use of Microsoft Powerpoint to view.
If prompted to enable media, please allow to enable videos needed in this activity.

More experiments

Overview

In this activity, you will fold a paper airplane while learning about design characteristics, freefall and drag.

Instructions

  1. Look at both sides of the paper before beginning.
  2. Locate the area labeled PILOT. Write your name on the line.
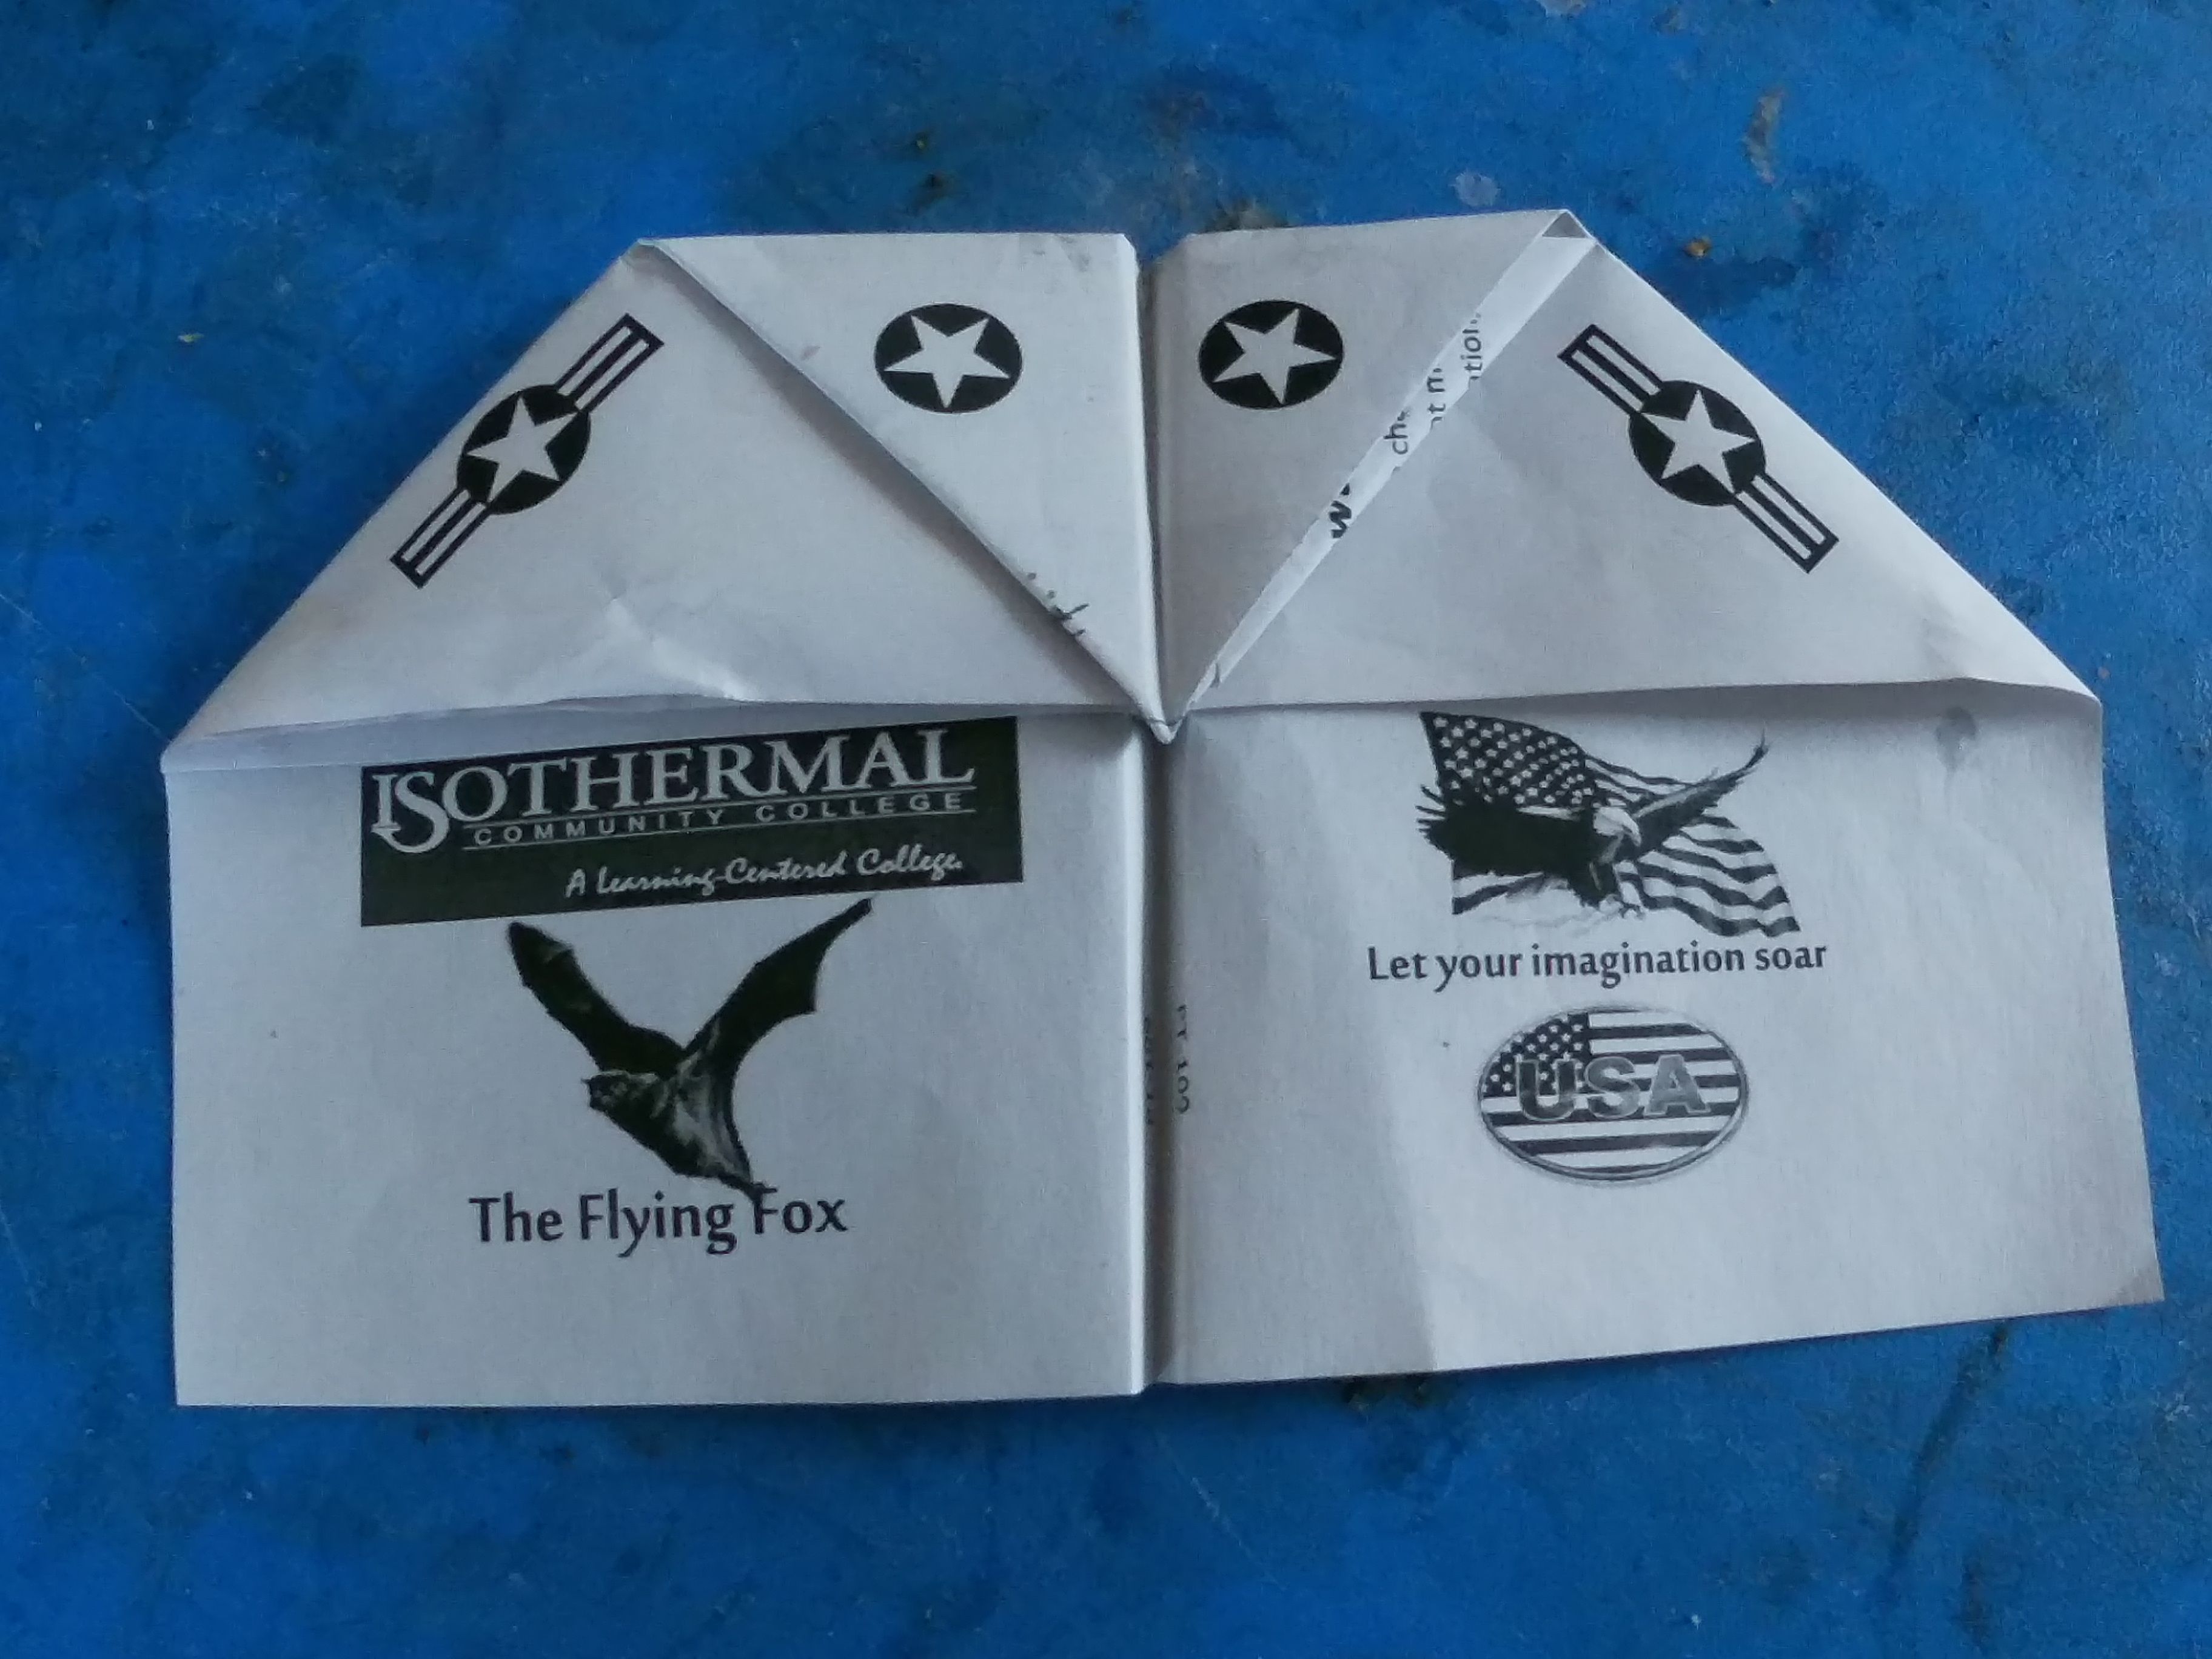
  3. Turn the paper over, so the flying fox is at the bottom left corner. See image.
  4. With the paper lying flat on a hard surface, fold the top right corner down into an isosceles triangle.
  5. Take the top left corner and fold it into a second isosceles triangle.
  6. Fold the tip of the nose to the middle.
  7. Take the flap and fold it in half.
  8. This is a difficult step. Stuff it in the pouch.
  9. Fold the flying fox directly in half.
  10. Then, fold the wing tips back.

Remember, to make the wings big to maximize the surface area of your wings.
See folded plane in picture.